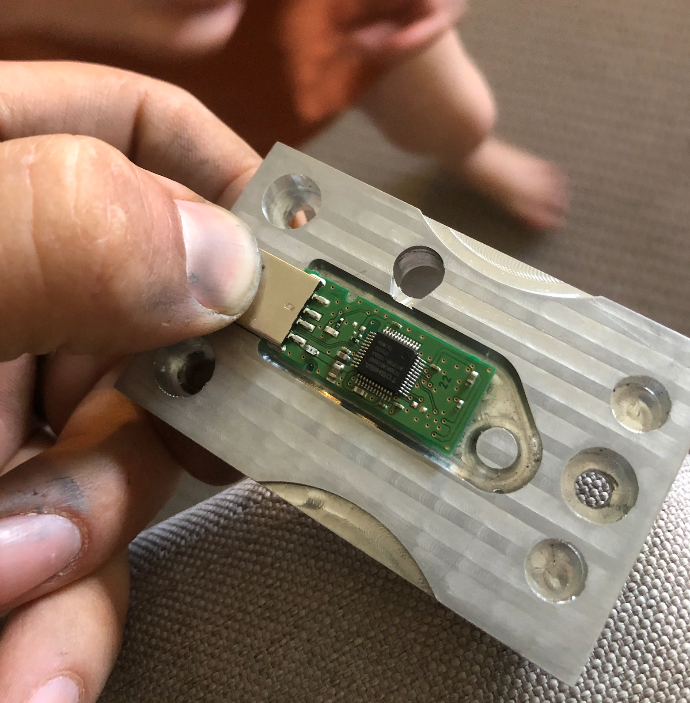
I remember when a customer approached me with a request to invent a USB flash drive injection mould, a product they had always dreamed of making on their garage built wooden injection moulding machine.
I was intrigued by the challenge and excited to put my skills to the test. After discussing the customer's requirements and specifications, I carefully considered the materials, design, and functionality of the mould. I knew that creating a prototype would be crucial to ensure that the mould functioned as intended, so I set to work using my homemade CNC machine. It was a slow and meticulous process, but I was determined to create a prototype that met all necessary specifications.
After several rounds of testing and refining, I finally had a prototype that worked. I then moved on to creating the first version of the mould, ensuring that it produced high-quality flash drives that met the customer's requirements. It was a challenging but rewarding experience, and I was thrilled to see the final product in action.
Since then, it's become one of my most popular moulds - and I've been pleased to make them for all kinds of organisations looking to boost their sustainability - from Samoan climate advocacy groups, to multiple universities in the USA who need moulds to compliment their self built plastic recycling machines.
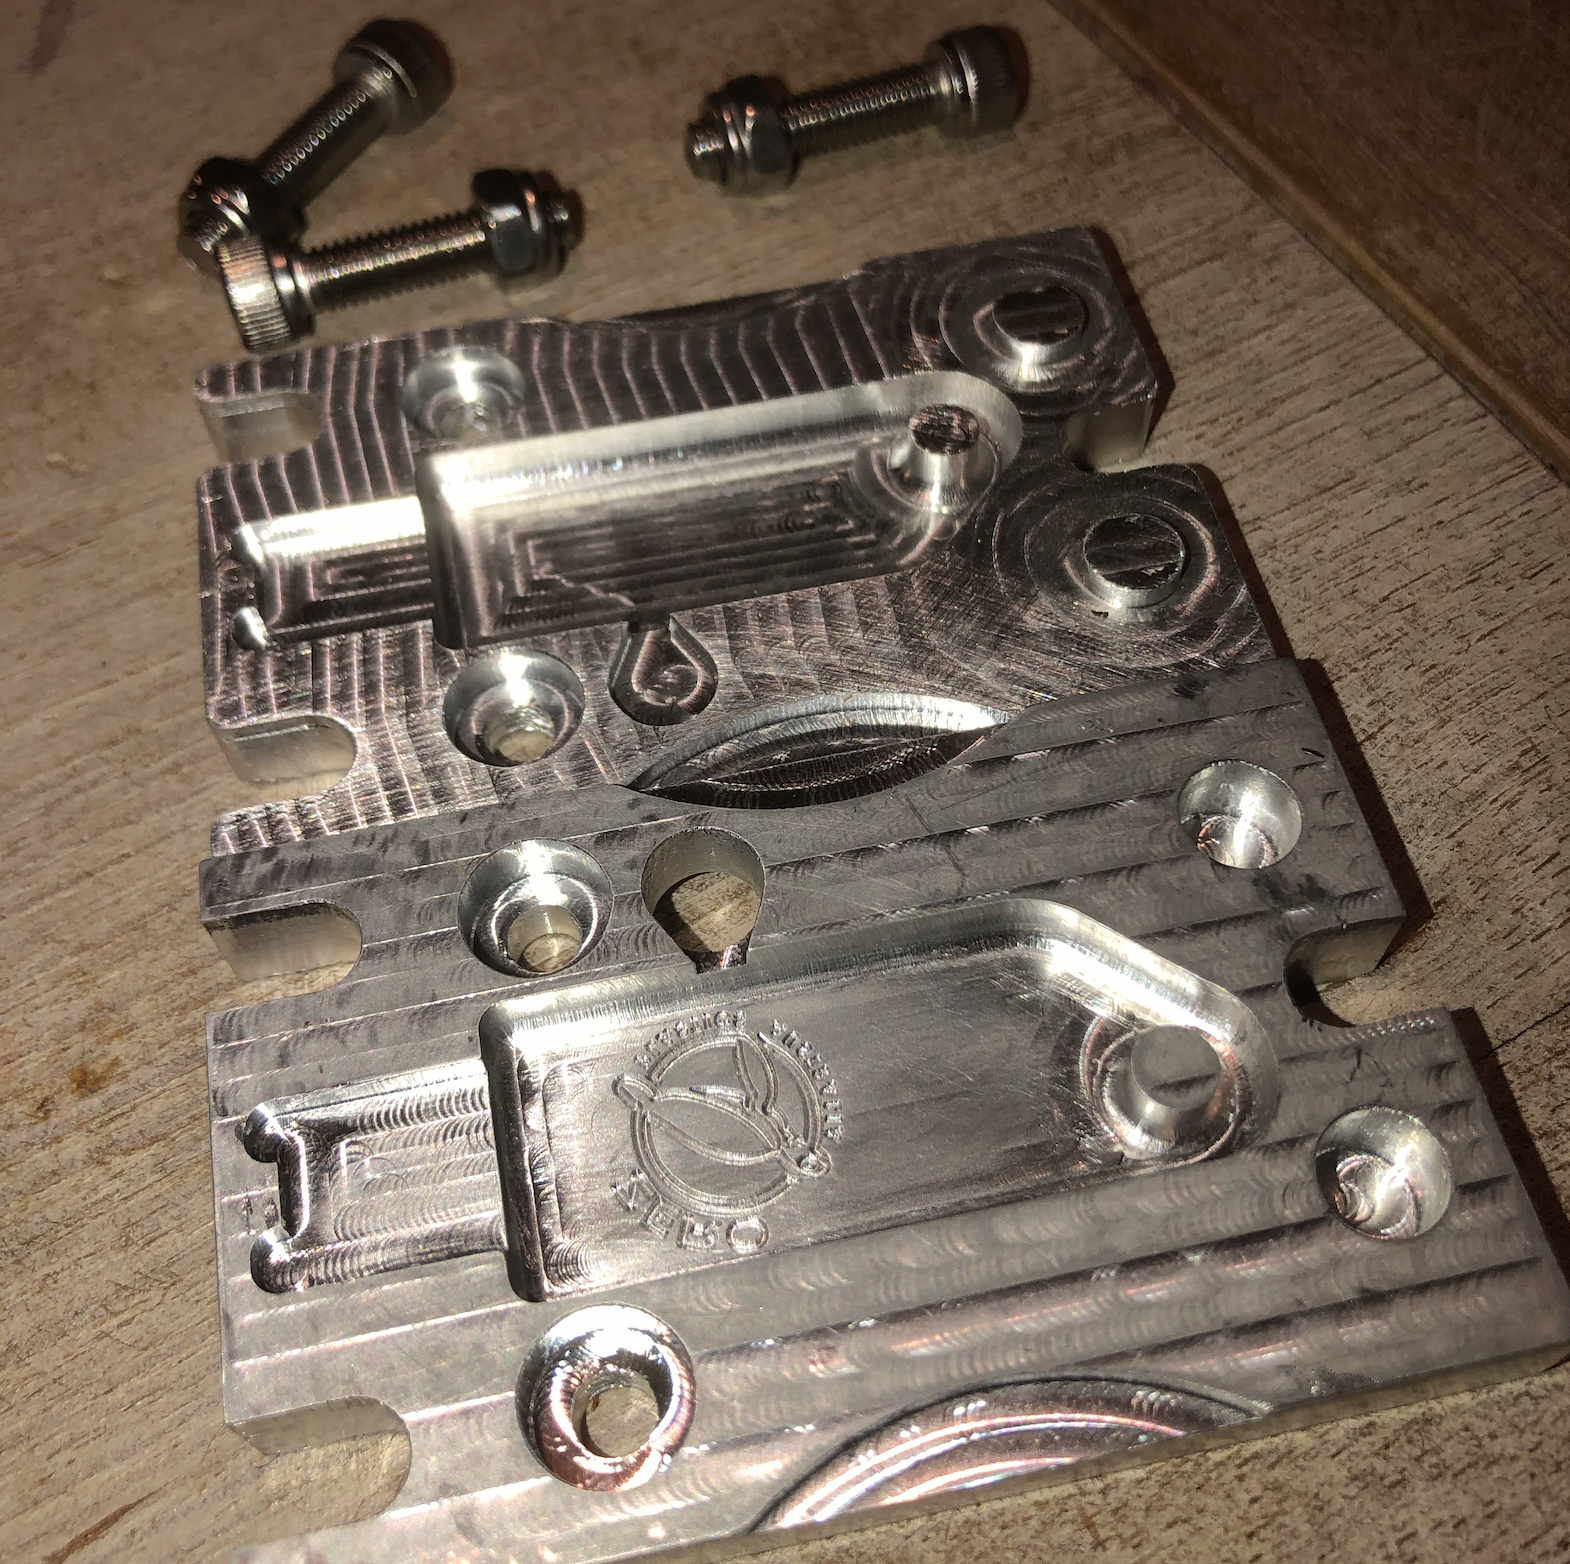
The first version is funny to look back on - it's fully functional! But my first real job on the CNC machine, first time engraving, first time designing two parts to fit together perfectly.
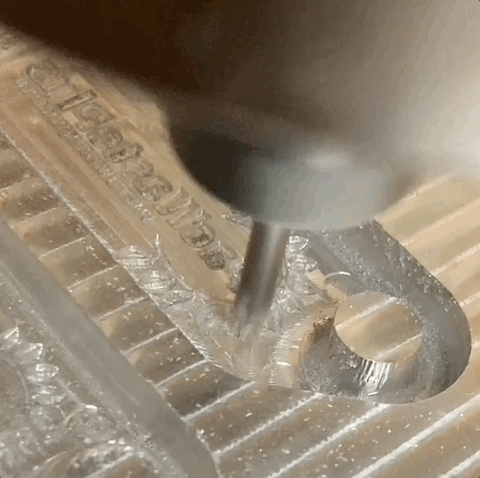
For some reason, I insisted on only using 3.175mm end mills, and ended up breaking a lot of them in the process of learning feeds and speeds on aluminium...
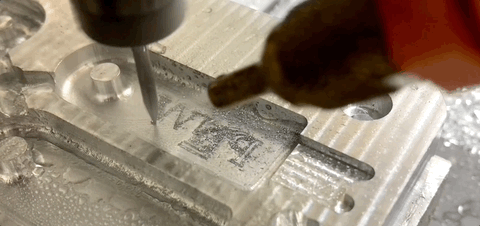
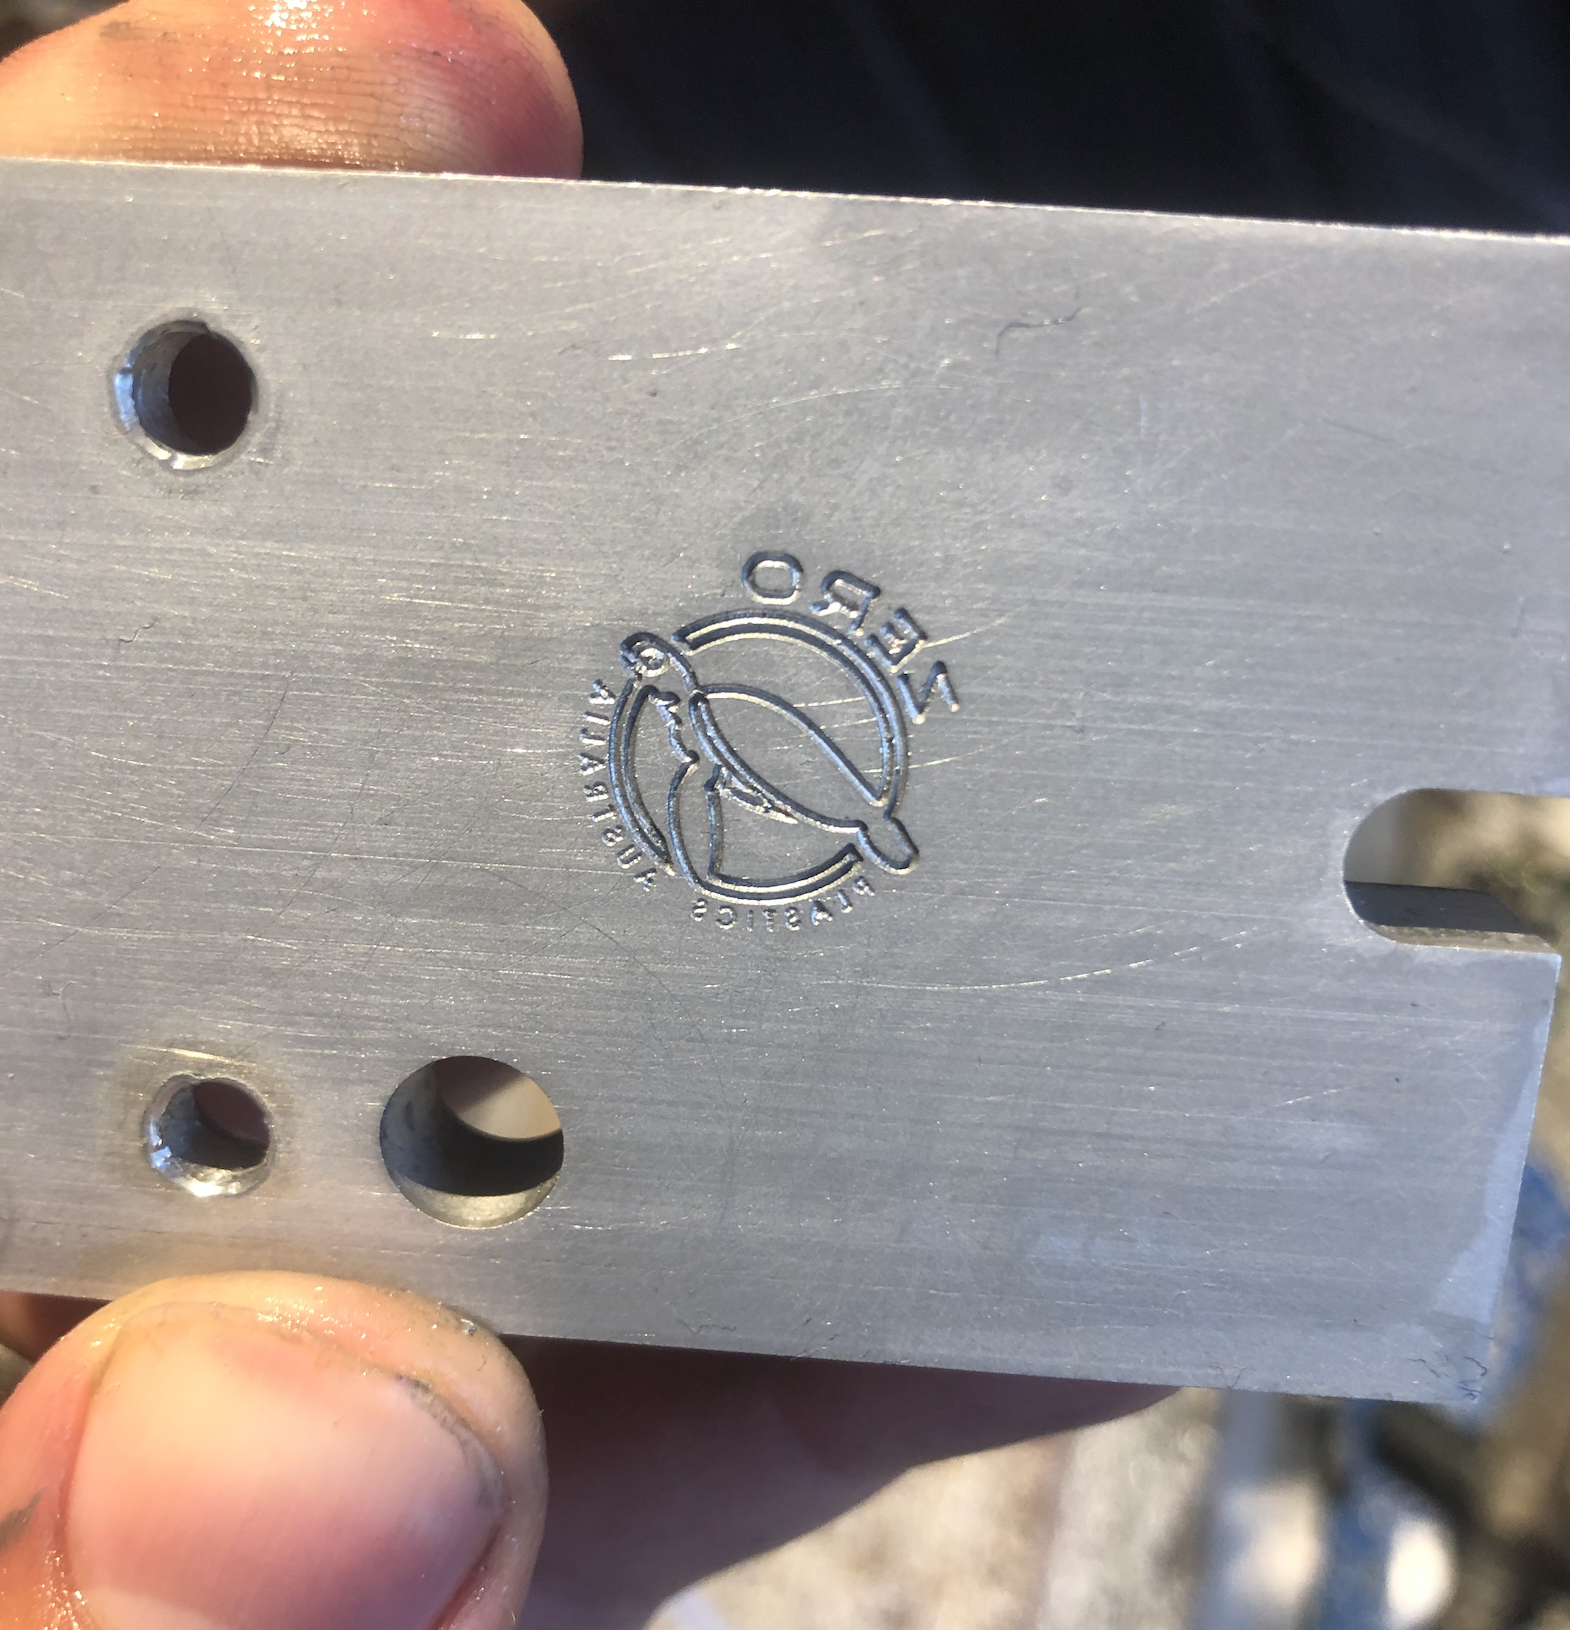
The most terrifying part was engraving the mirrored logo. On the first attempt Mach3 (the software running the machine) crashed, and I lost my zero point, so there was no way to resume the machining after rebooting the tiny windows XP laptop that ran the software... This was the first of many issues with Mach3, and soon after I was able to get rid of it entirely when I built my custom CNC machine controller, which I'm proud to say works flawlessly!
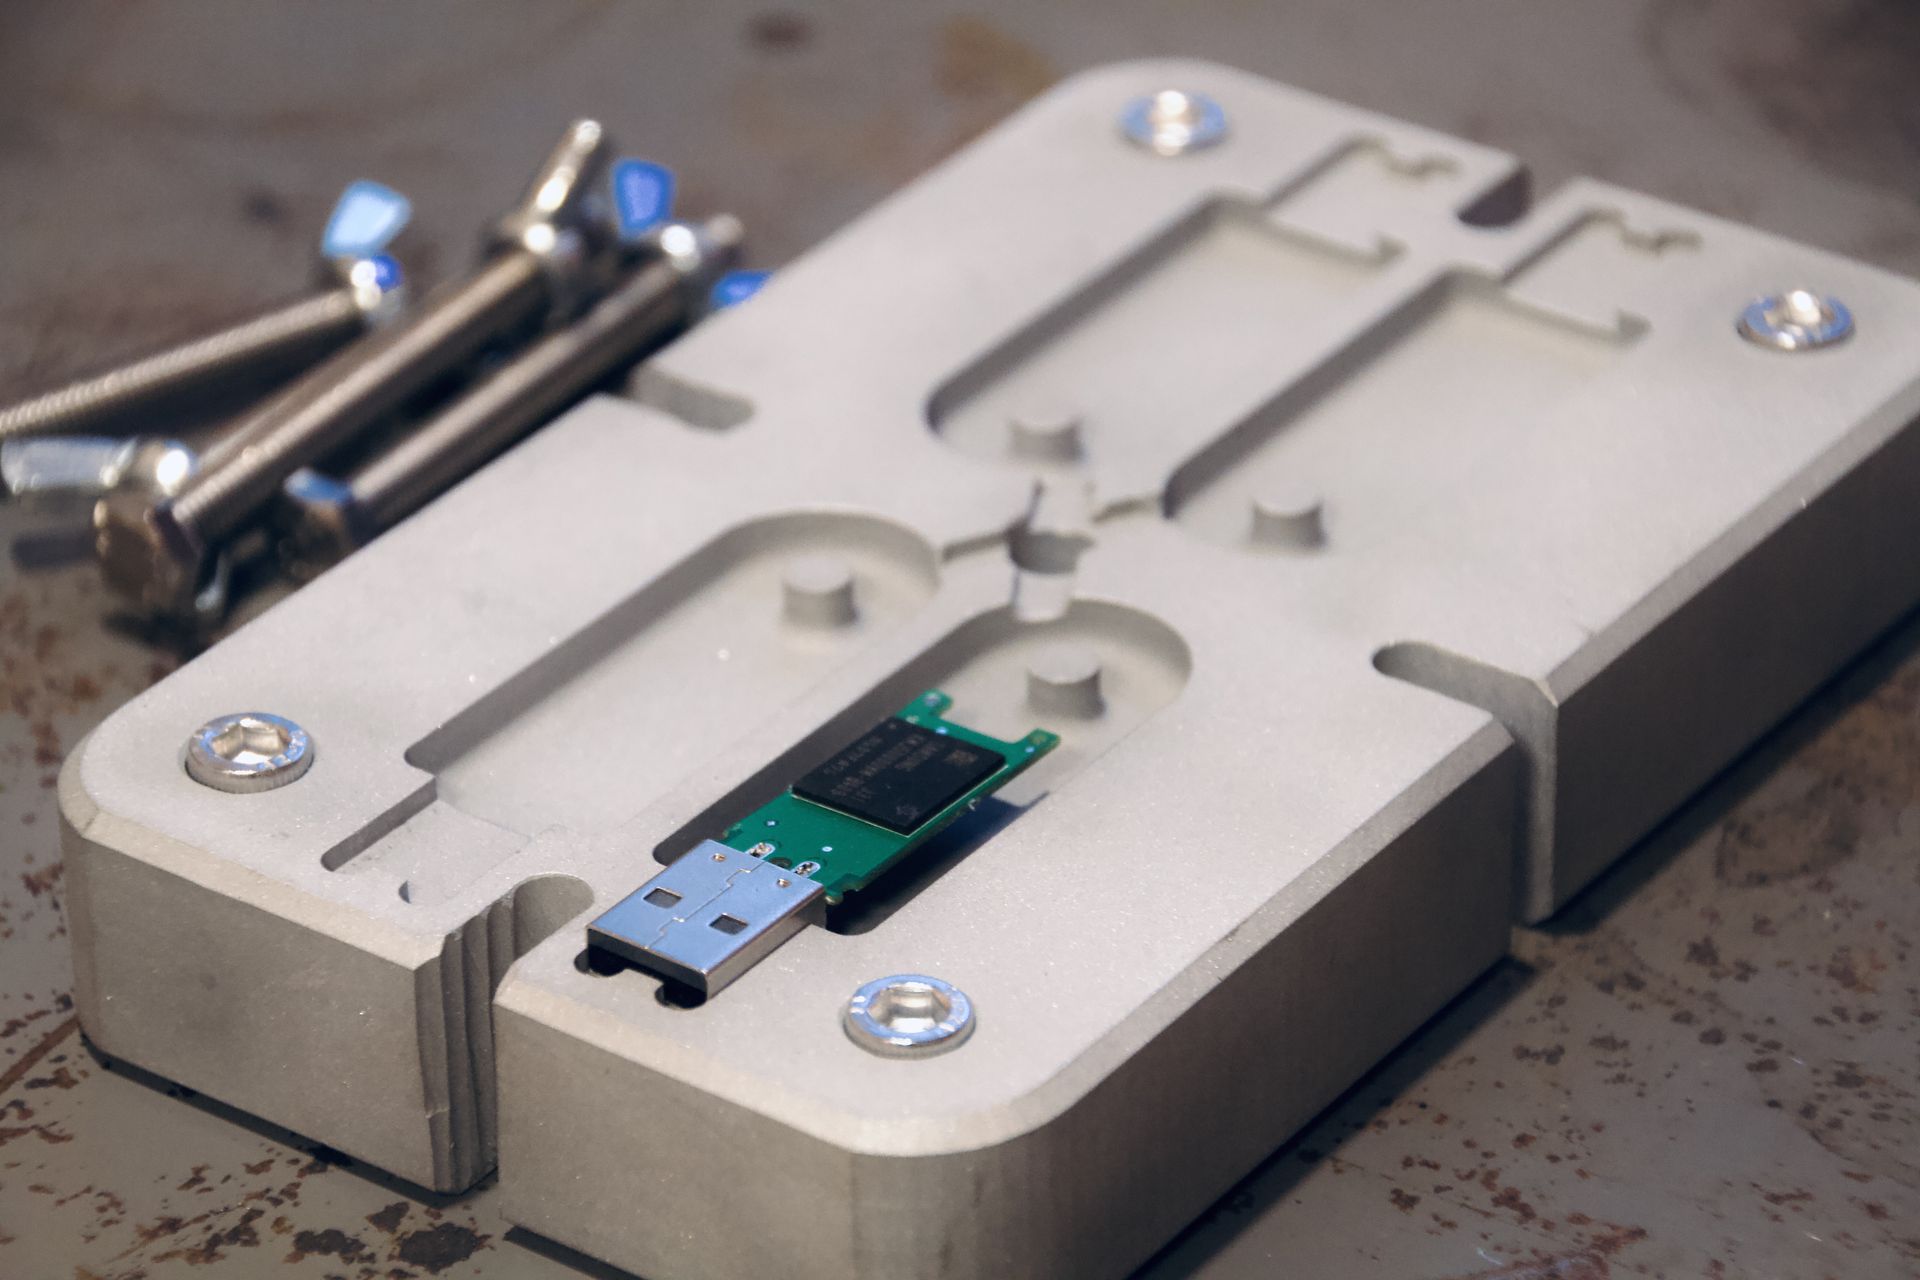
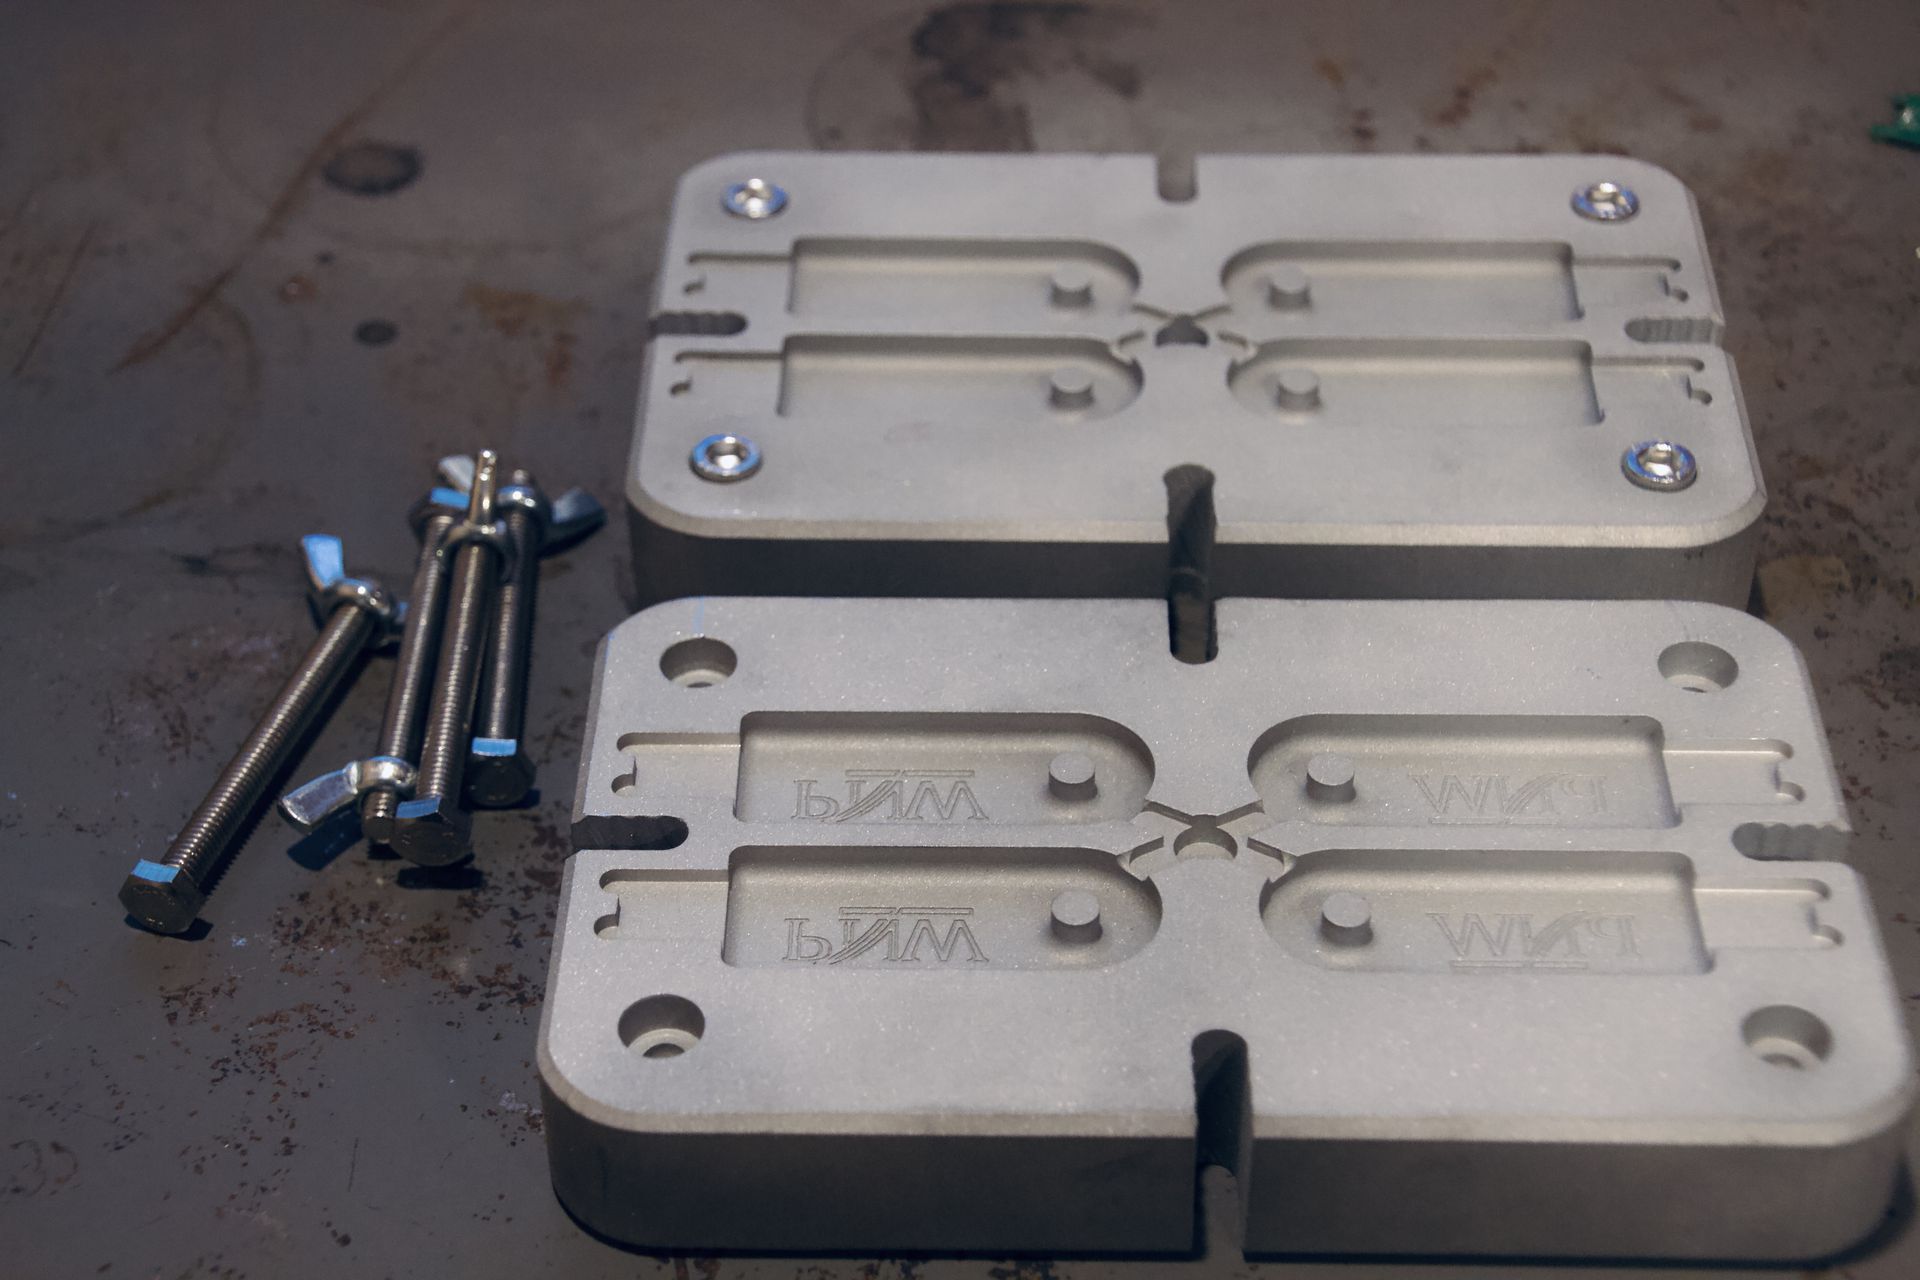
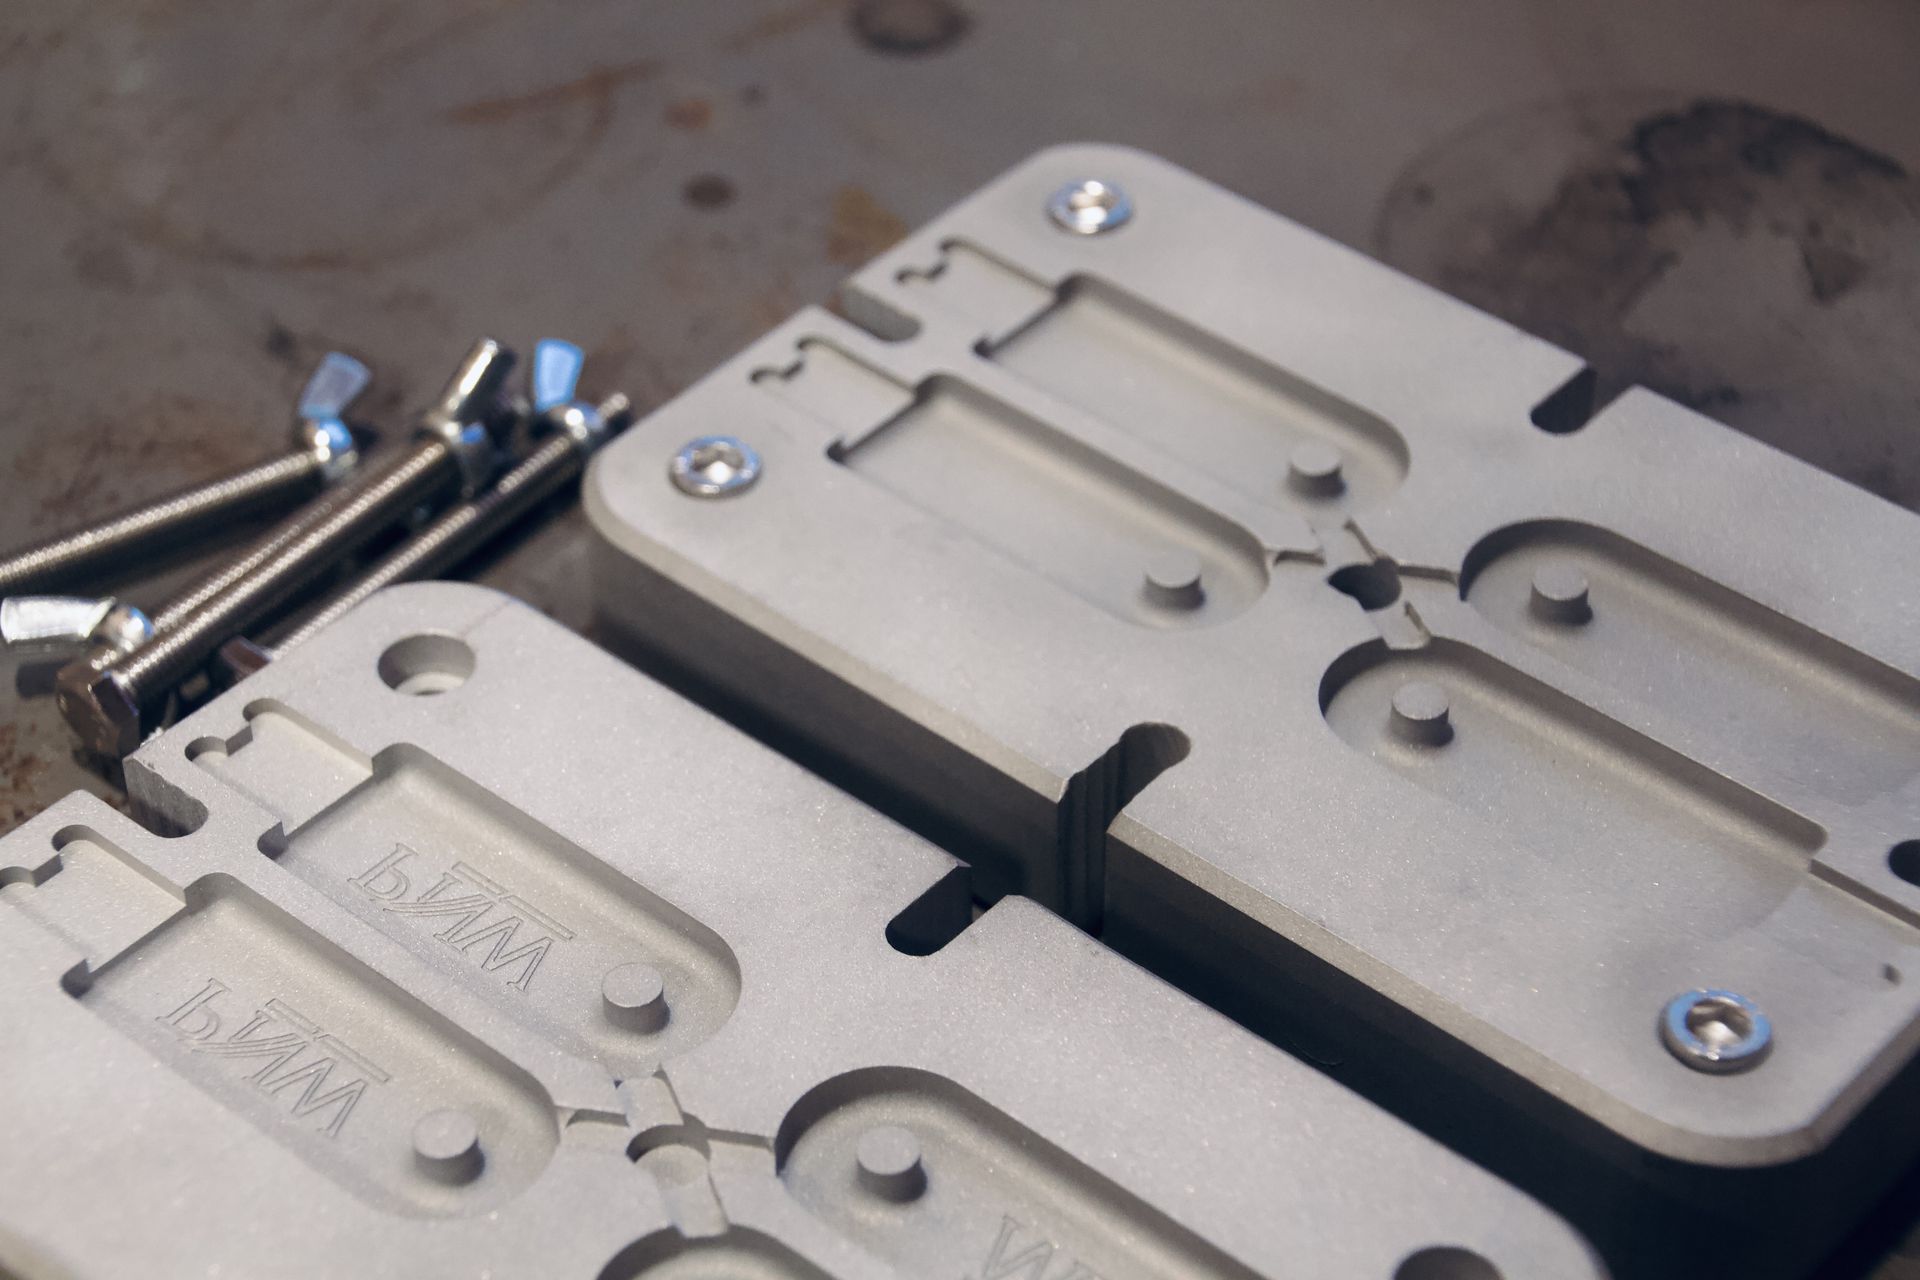
The next version of the flash drive mould was much better - instead of 10mm thick aluminium, I started using 25mm thick stuff - which is much easier to handle while working with the finished mould, and also allowed for multiple cavities!
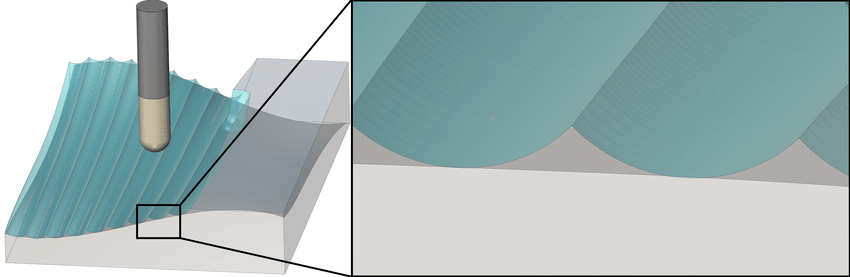
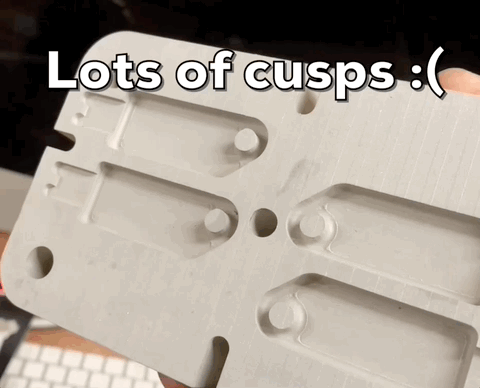
However my CAM programming was still pretty basic, and I struggled with cusps (little corner bits left when using ball-end end mills.)
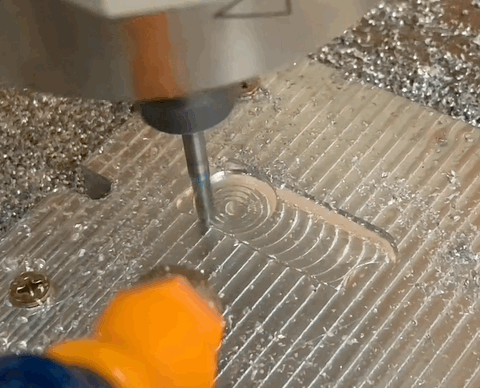
By this point, I had made a handful of flash drive moulds, each iteration better than the last, and I was finally able to evolve to a more powerful CNC machine, and more rigid work holding (screwing the part to a piece of plywood was not a very rigid solution...)
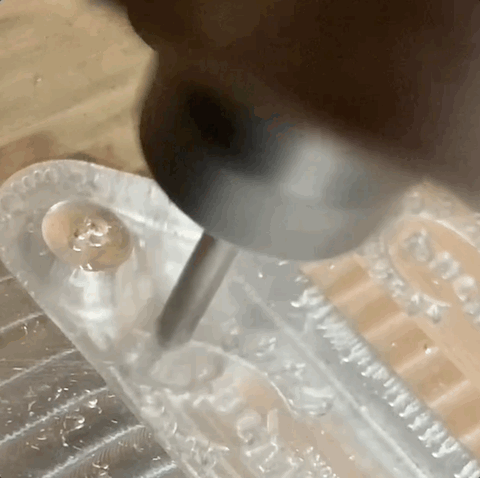
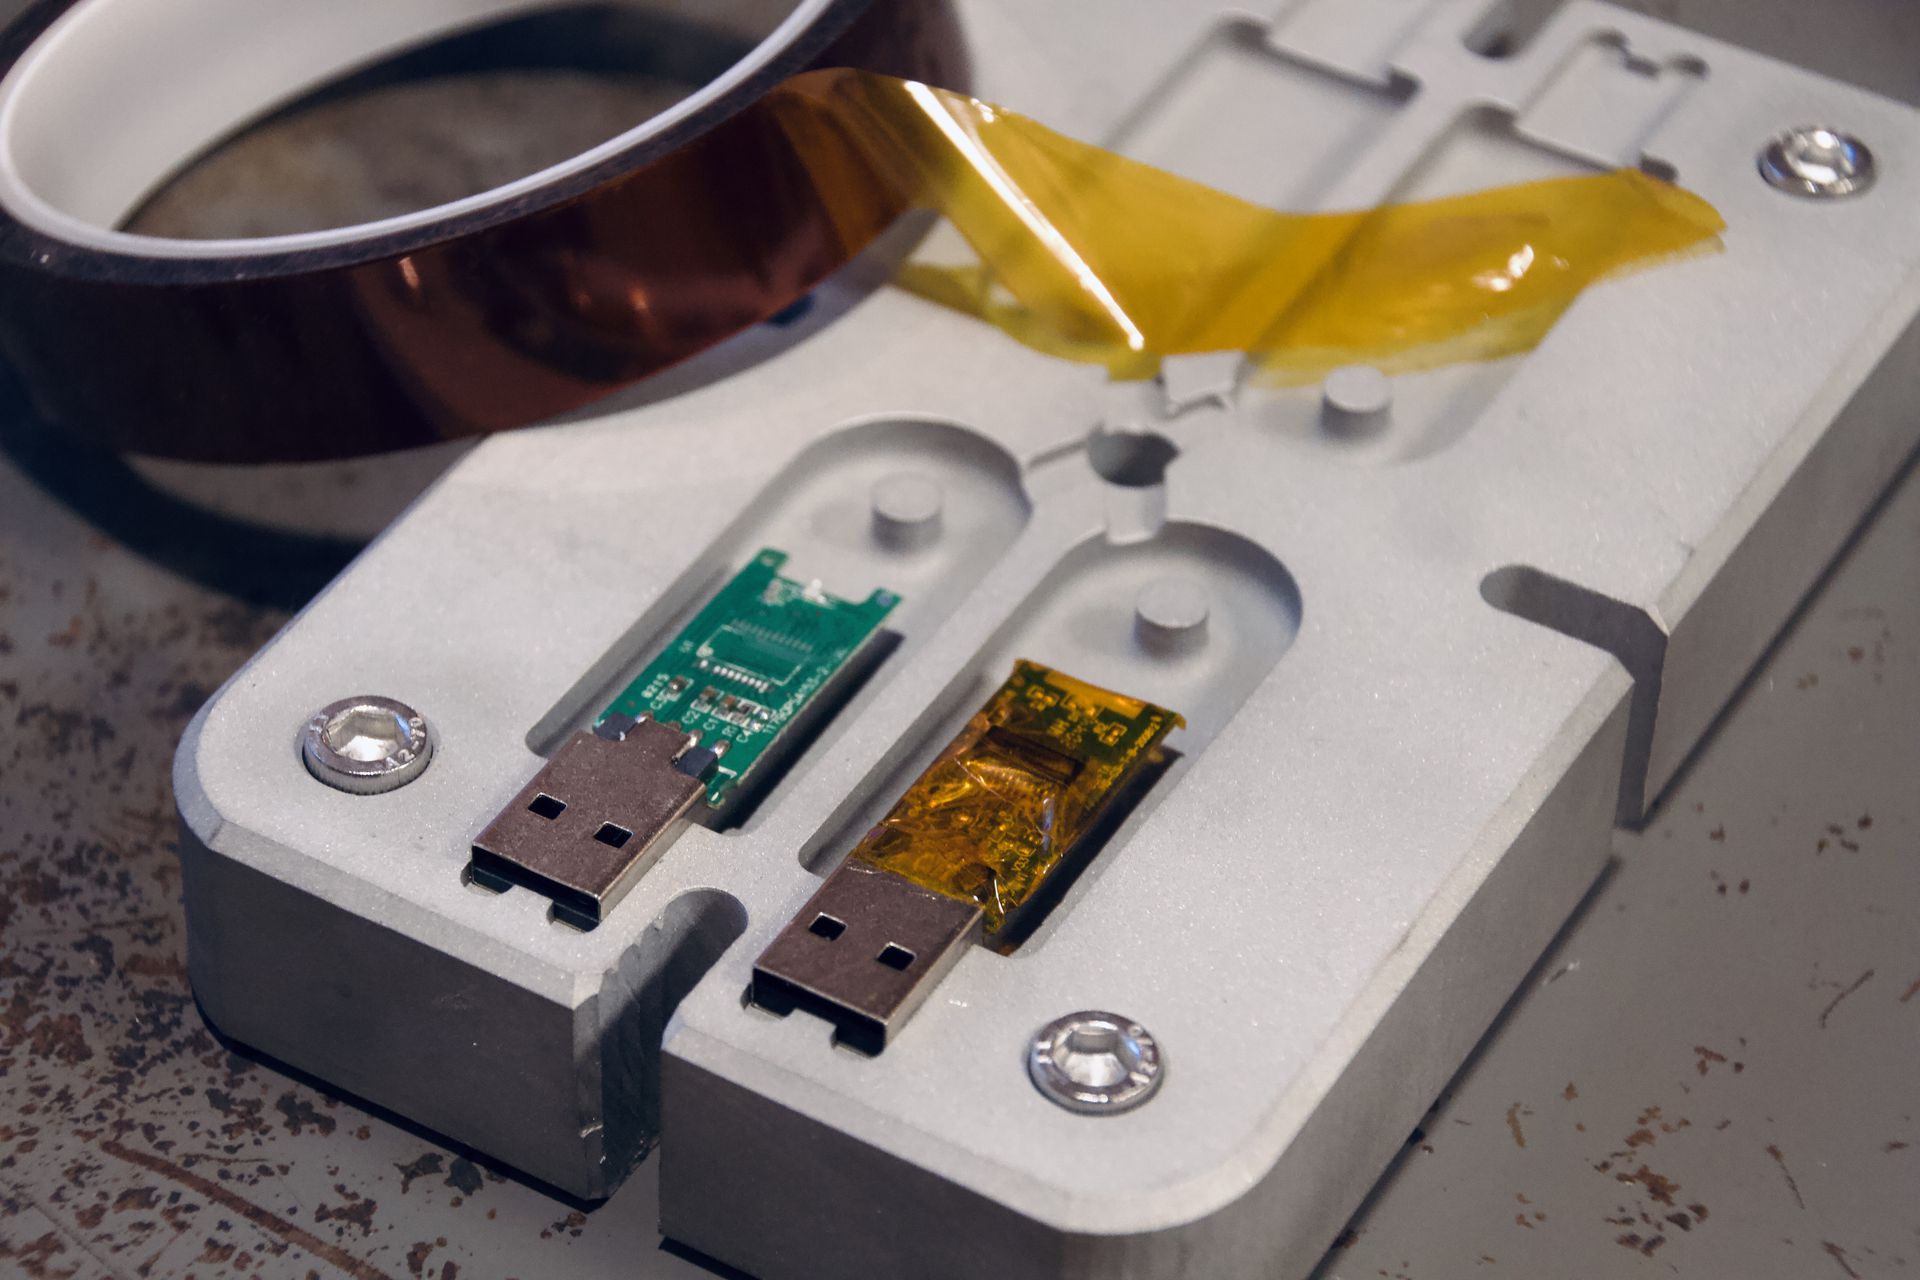
I was also able to consistently get the engraving just right, and machining with plenty of alcohol coolant makes an even more consistent result.
And finally, I was able to increase the speed and consistency to a point where I'm pleased to offer these moulds for sale!
Thanks for reading along, if you're interested in a flash drive mould, please don't hesitate to reach out - or check out our whole range of plastic recycling machines and moulds!
View Flash Drive Mould in the Shop